RAW vs. DNG: Which File Format Should You Use?
1. Introduction
If you are a photographer who shoots in RAW format, you might have encountered the dilemma of choosing between the RAW files vs DNG files when saving your photos into the hard drive.
What are the differences between these two types of files and which one should you use?
I've been asked about this topic countless times during my workshops and on social media.
Which format should I use when importing my images into the catalog? Should I use the native RAW file, or should I convert them to DNG?
Which one is the better format to use: RAW or DNG?
Is there any difference in terms of image quality between the native RAW file format and the DNG version?
Both formats have their own advantages and disadvantages, so it's important to understand the differences between them before deciding which one is right for you.
So, in this blog post, we will explore the pros and cons of each format and help you decide which one suits your needs better.
2. What is a RAW file?
A RAW file is a digital negative of an image. It contains all of the data that was captured by the camera's sensor without any in-camera processing, including proprietary data specific to the camera model, the color information, exposure information, white balance information, and other metadata.
These files are unprocessed, which means that they have not been compressed or edited in any way.
This gives you a lot of flexibility when it comes to editing their images, as you can make changes to the color, exposure, and white balance without losing any image quality.
RAW files are unique to each camera manufacturer and many times to different camera models from the same manufacturer. This means a Fujifilm camera may output RAF files, a Canon camera CR2 files, a Sony camera ARW files, a Nikon camera NEF files, etc.
Since they’re proprietary, you sometimes need to wait for your software (such as Lightroom or Capture One) to update in order to support RAW files from the newest cameras.
3. What is a DNG file?
DNG, which stands for Digital Negative, is an open standard file format developed by Adobe.
It was created to address the fragmentation and compatibility issues caused by the numerous proprietary RAW formats in the market. DNG files are similar to RAW files in that they contain unprocessed sensor data, but they are not specific to any camera manufacturer.
They are intended to be a universal format that can be read by various software applications, and they can be saved in a variety of compression levels, which allows you to choose the file size that best suits your needs.
You keep all the original data when you convert a proprietary RAW file to DNG (or nearly all, depending on your settings).
4. So, Which File Format Should You Use?
The answer depends on your preferences and workflow. Some photographers (here I am!) prefer to use proprietary RAW files because they preserve the original data from their camera and they trust the manufacturer's software to process them.
Other photographers prefer to use DNG files because they save space, simplify their workflow, and ensure “future compatibility” (???).
There is no right or wrong answer here, as both formats have their benefits and drawbacks.
In my case, my entire workflow is based on the original Fujifilm RAF file format.
5. RAW vs DNG: Pros & Cons
Here are some factors to consider when choosing between RAW files vs DNG files:
1. Quality
Both RAW files and DNG files (with no compression) preserve the full quality of your image without any loss of detail or dynamic range.
However, some photographers argue that converting proprietary RAW files to DNG files might introduce some artifacts or errors in the process.
I do not convert my files to DNG, but as you can see in the example below, there is no difference whatsoever between native RAF files and their DNG counterparts.
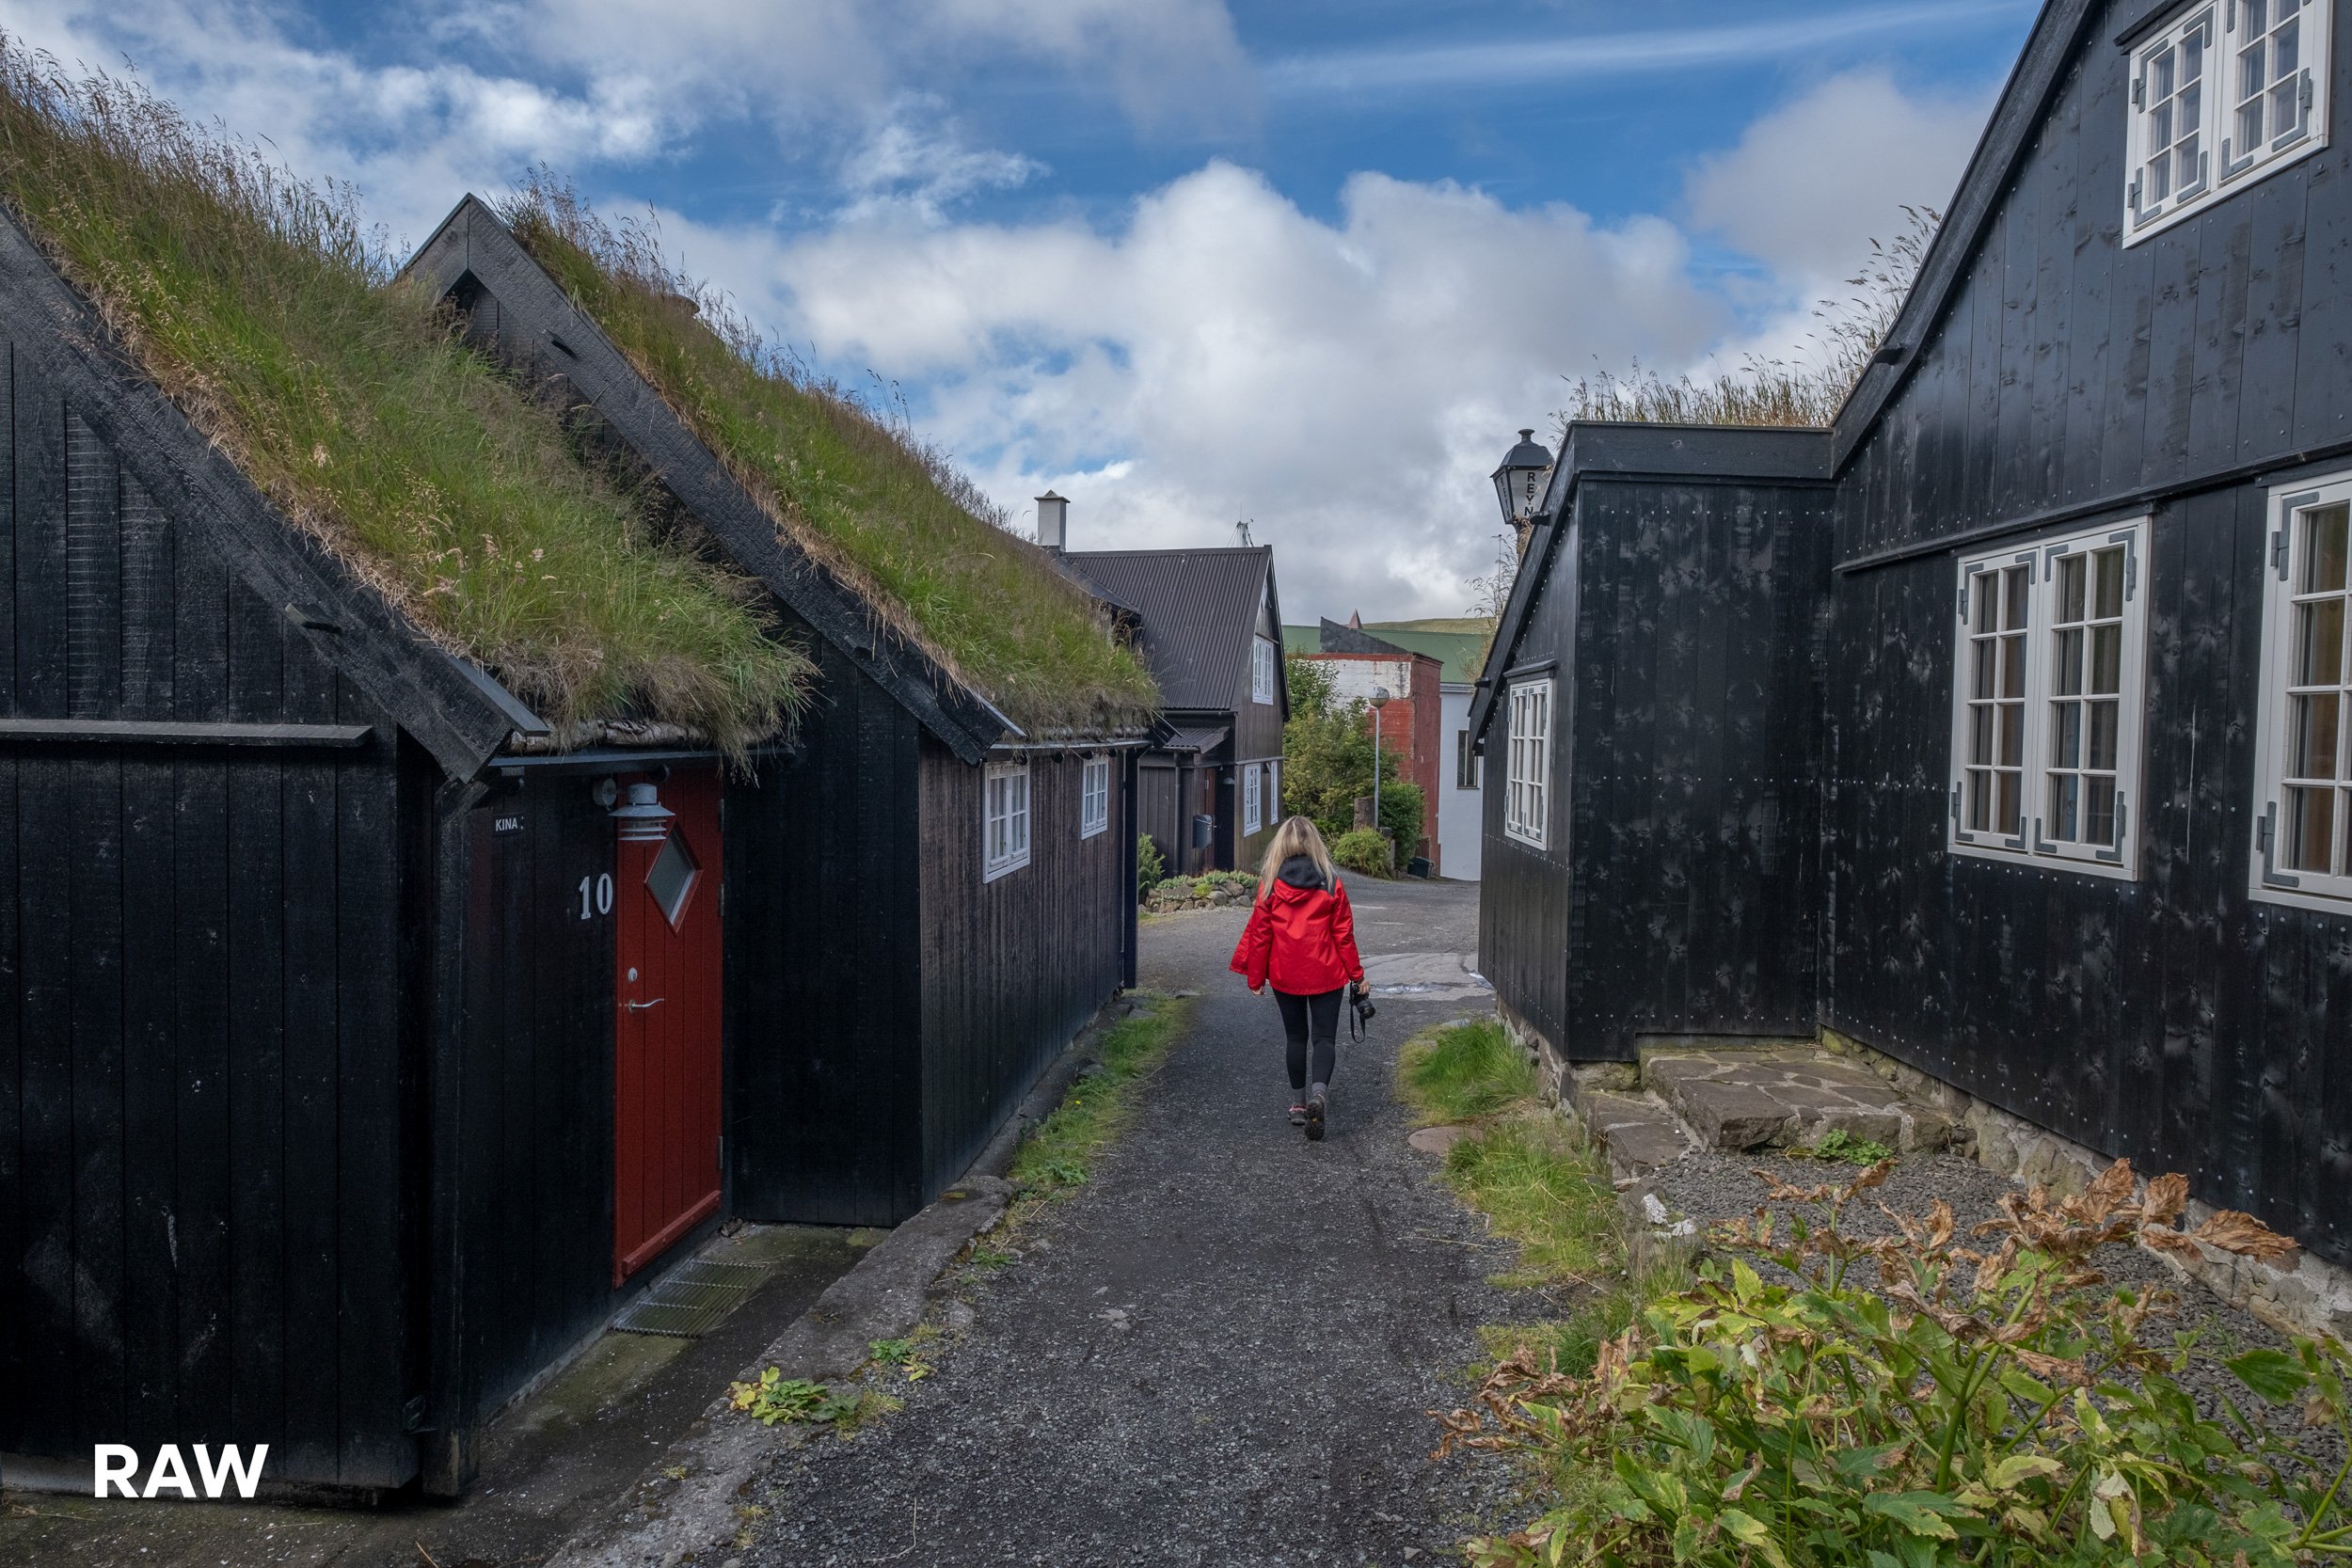

I chose this specific example because it gives us the opportunity to compare the details as well as the latitude of shadow and highlight recovery and colors.
As far as I can tell, they're exactly the same.
I recovered the highlights and opened up the shadows to 100% to see if there is any difference between the formats.
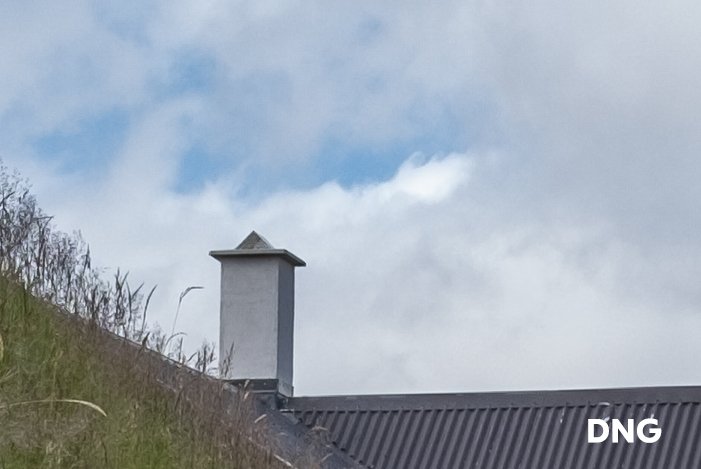
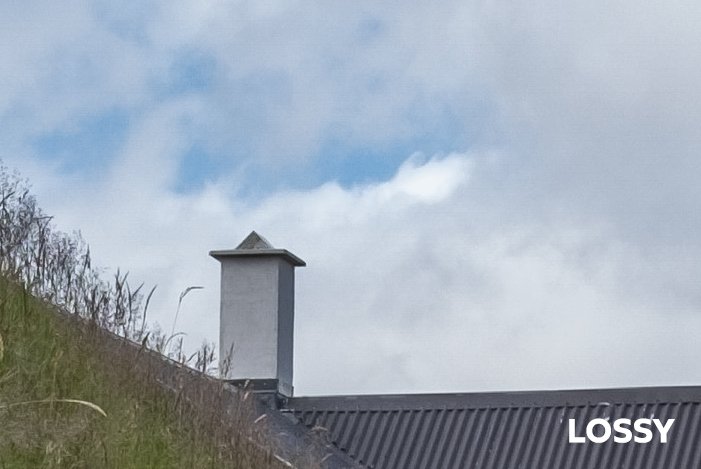
Things are quite different if you apply a level of compression. That’s something you can do by using the Adobe DNG Converter and selecting the option “Use Lossy Compression: Preserve Pixel Count” in the Preferences panel.
In this case, unless you zoom in to 100% or more, the quality looks the same.

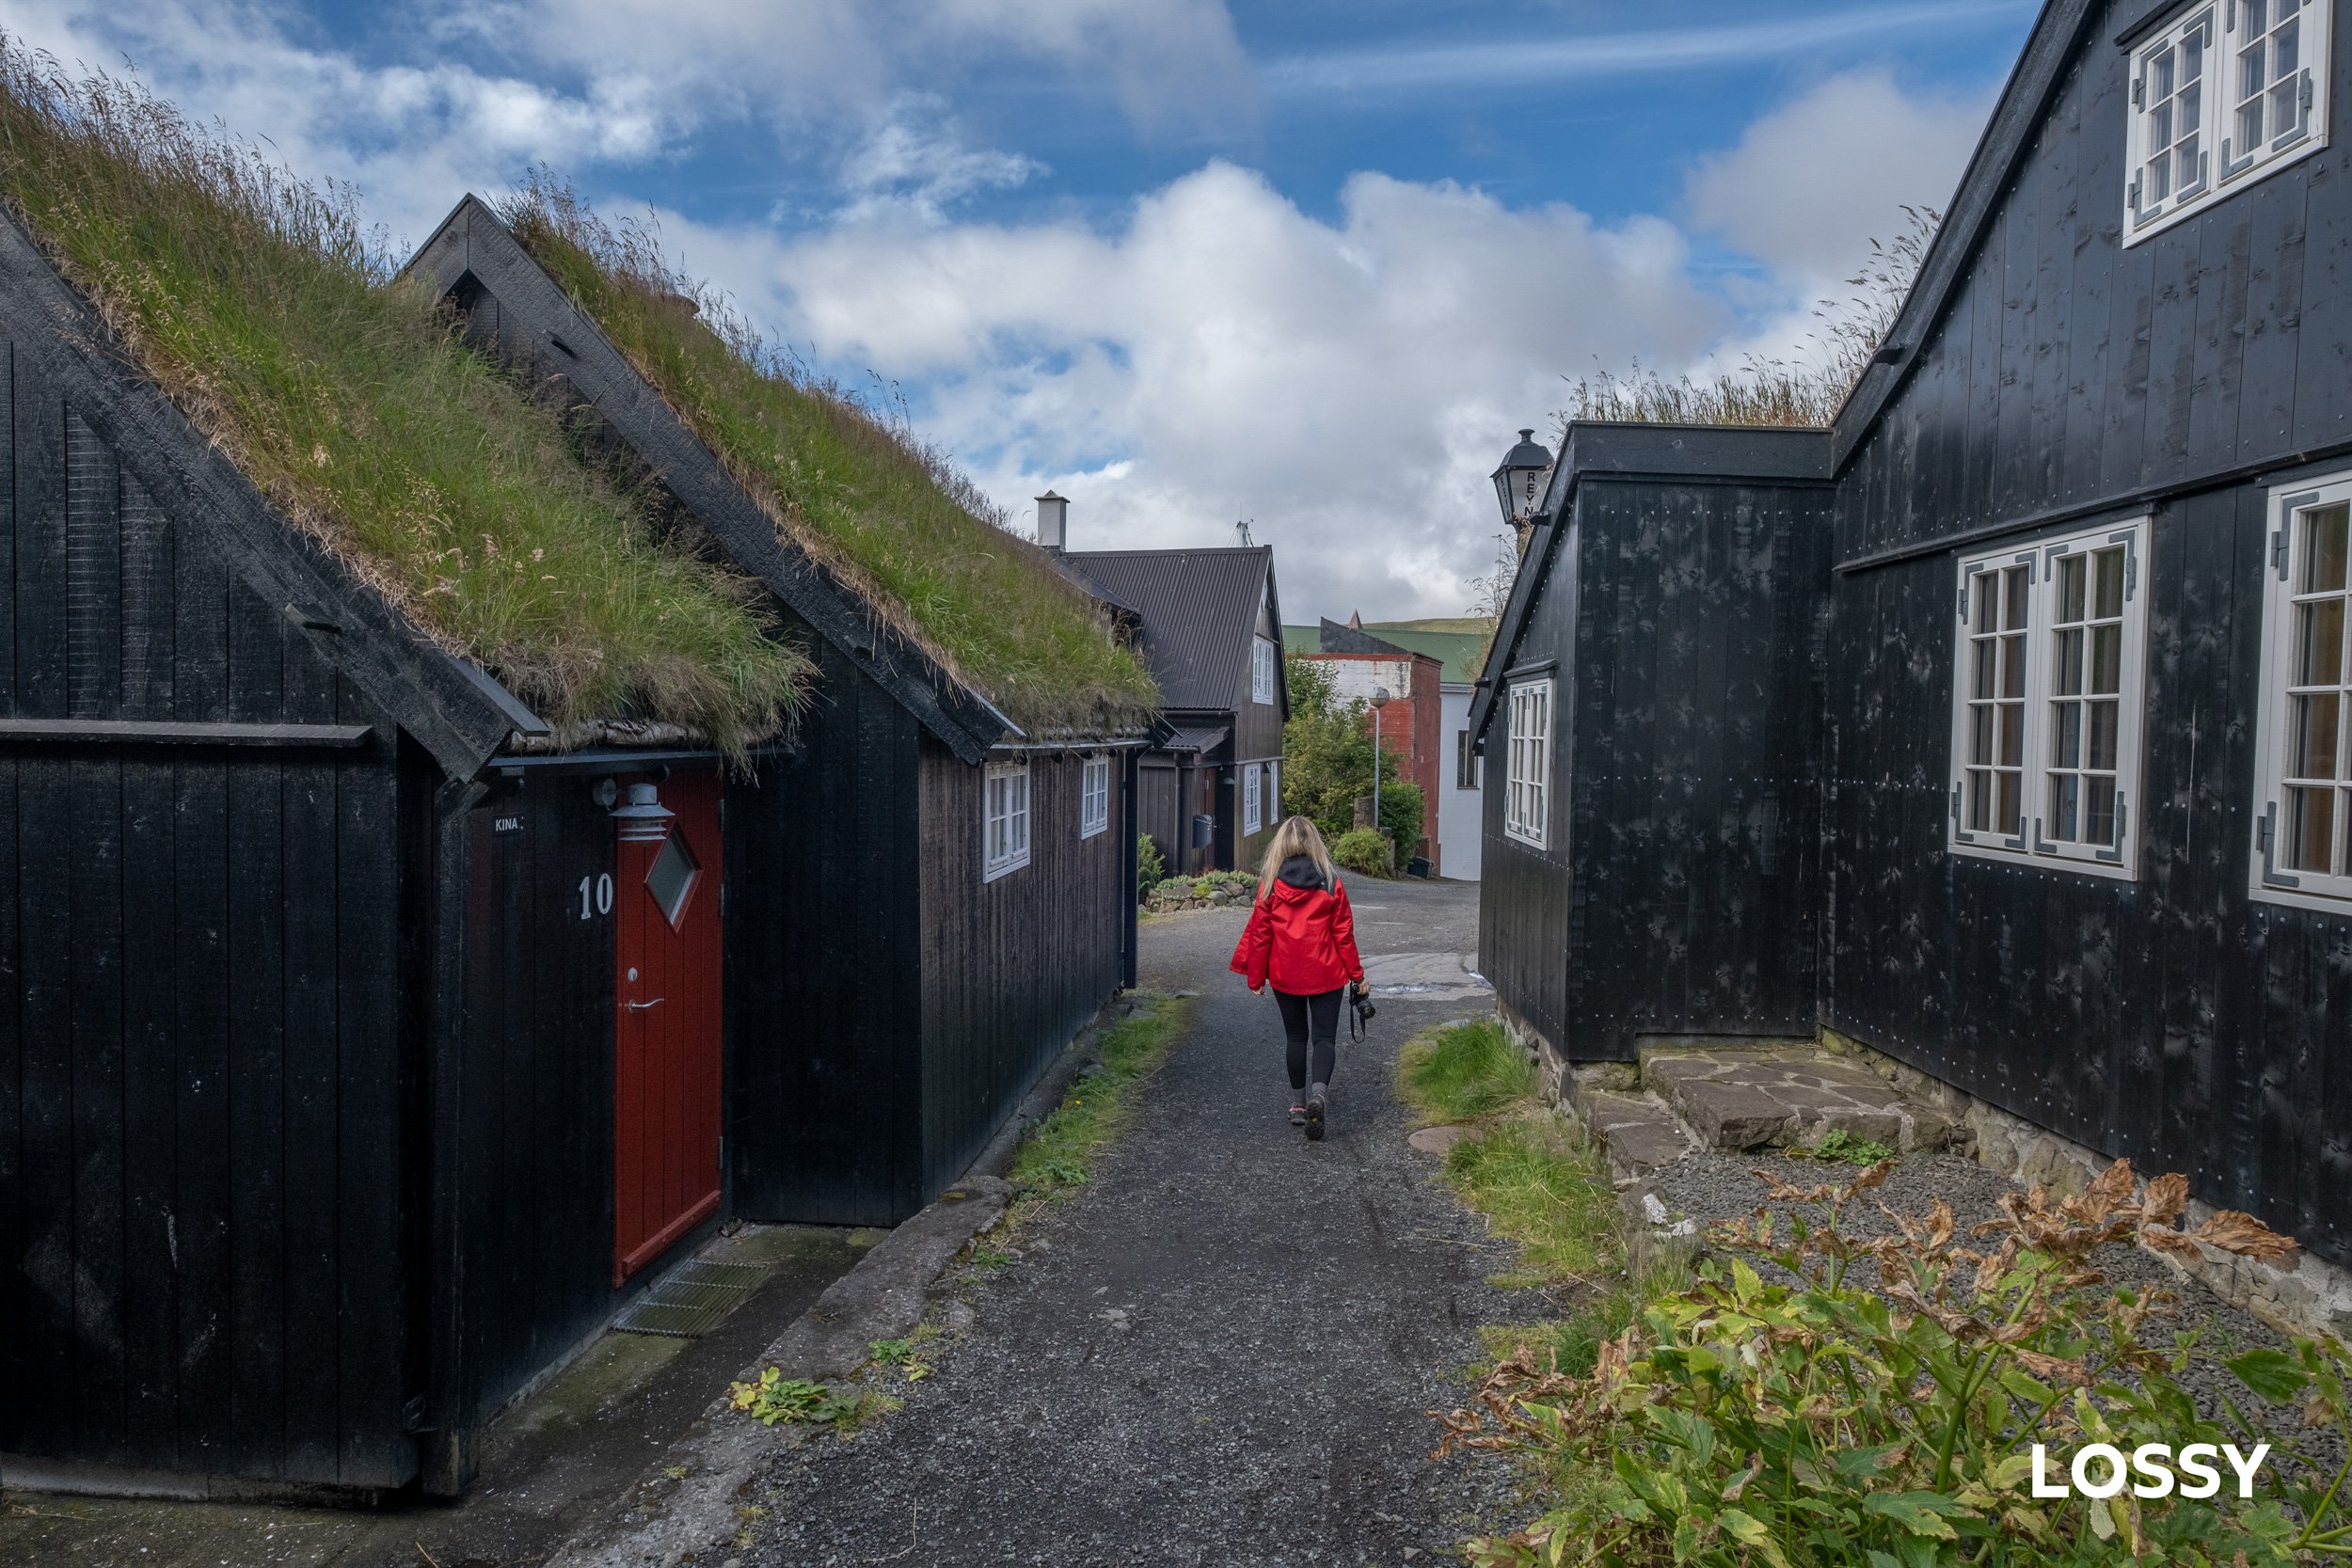
But…
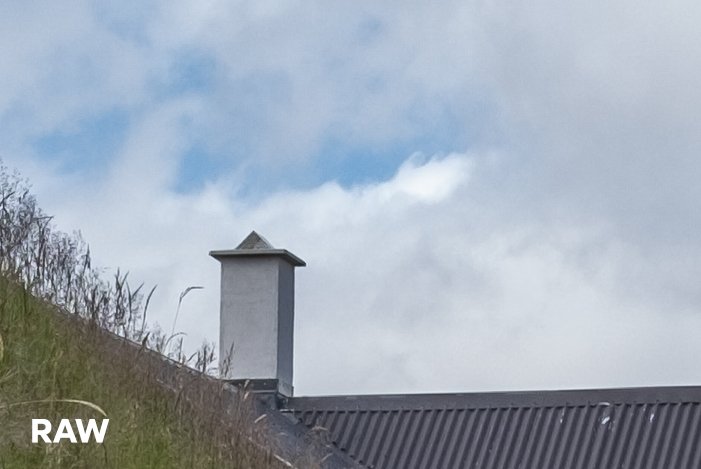
As soon as you zoom in, you can clearly notice some sort of degradation of the image.
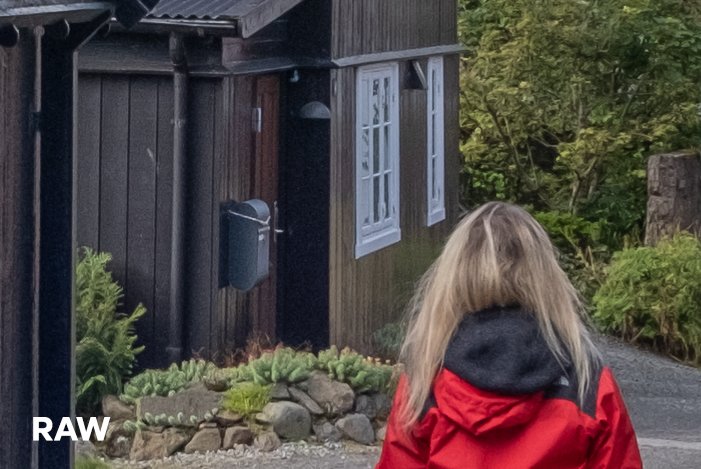


The sky and areas with fewer details are especially affected. In areas with a lot of detail, there isn't much difference or at least is less visible. Colors and shadows/highlights recovery remain the same.

2. Compatibility
DNG files are compatible with more software (1) and devices than proprietary RAW files. You can open and edit DNG files with any software that supports RAW format, such as Adobe Lightroom, Photoshop, Camera Raw, Capture One, etc.
You can also view DNG files on any device that supports JPEG format, such as smartphones, tablets, TVs, etc.
Proprietary RAW files, on the other hand, sometimes require specific software updates to open and edit them. You might also encounter compatibility issues if you switch to a different camera brand or model or if you upgrade your software or operating system.
RAW files Future-proof: Some people say that converting to DNG files is a good idea because you never know if a camera manufacturer might stop making software that can open their RAW files. But I don’t think that’s very likely, and even if it happens, you can still use their software to access their files. Or you can always convert them to DNG later if you really need to.
(*1) PS. When you convert a RAW file to DNG, it goes through a little bit of processing, and the original RAW file is discarded.
Now, there are some awesome tools out there, like DxO PureRAW, just to bring up one, that work their magic using that proprietary RAW file. If you go for the DNG conversion, those tools won't be able to give you the same quality.
In this case, you may not be able to use such tools in the future as well as take advantage of other future developments.
3. Metadata
DNG files have embedded previews and metadata that make them easier to manage and organize. You can see a thumbnail of your image and access information such as exposure settings, date, time, location, keywords, etc. without opening the file.
You can also edit the metadata directly in the DNG file without creating a separate sidecar file like in proprietary RAW files. This makes DNG files more convenient and efficient to work with.
However, one important thing to note is that when you convert your files to DNG format, the metadata, including keywords, stars, and any changes you made in Lightroom, may not be accessible if you decide to use a different software that can only read XMP sidecar files and not DNG files.
This means that if you rely on these metadata for organization and categorization, it's something to consider.
4. Speed
Converting proprietary RAW files to DNG files takes some time and processing power from your computer. Depending on how many images you have and how fast your computer is, this might slow down your workflow or cause some lagging issues.
If you shoot a lot of images in RAW format and need to edit them quickly, you might prefer to use proprietary RAW files instead of converting them to DNG files.
5. Storage space
DNG files are smaller than proprietary RAW files because they use a lossless compression algorithm that reduces the file size without sacrificing quality.
Depending on your camera model and settings, DNG files can be 15% to 35% smaller than RAW files. This means you can store more images on your hard drive if you use DNG files.
However, that’s not the case with my Fuji RAF lossless files.
For example, the native RAW (lossless) file size of the example image we have seen before is 29,1 MB, whereas the converted DNG version created using the “Copy as DNG” in the Import module in Lightroom is 32,4 MB. So, it’s much bigger!
It'd be different if I used the uncompressed RAF version, which would be around 50 MB. However, the Lossless compression of Fujifilm cameras is outstanding and there is no difference at all with the uncompressed version. This is something I discussed multiple times in my videos.
To get a smaller file size you need to use the Adobe DNG Converter which brings the size to 8,3 MB. As I mentioned before, the quality is not as good as the native RAW version.
6. Conclusion
As you may have guessed, I prefer using the native RAWs files.
Despite the claims in favor of the DNG format, the main reason to avoid converting is that it does not offer any clear advantage.
DNG files do not have more information (maybe less), are barely smaller, do not load noticeably faster, take more time to download because they need to be converted, and lock you in with Adobe forever!
They are clearly more beneficial to Adobe than to you, and have not been adopted as a standard format.
Your thoughts…?
I would love to hear about your favorite format. Do you download your images in the proprietary RAW format of your camera manufacturer or do you convert them to DNG?
Let me know in the comments!
PHOTOGRAPHY WORKSHOPS
Want to improve your photography?
Join me in one of my photography workshops:


